If you’ve ever told a friend to text you when they get home safely, Apple’s new Check In tool is for you. Here’s how to use it.
Check In is an iOS 17 feature that allows you to share important information with another person when making your way from one location to another. The tool allows you to select a location or set up a timer to correspond with your journey and send it to a chosen friend or family member. Your iPhone will then monitor your journey and alert your contact if you don’t seem to be progressing toward your location for an extended period of time, sharing your location, battery percentage, network signal and more with that person.
If you do arrive safely your phone will either prompt you to Check In or automatically let your friend know you’ve arrived, depending on your settings.
Keep reading to learn how to use the Check In feature in iOS 17…
What you’ll need:
- An iPhone XR/XS or above
- iOS 17 installed on both your and your recipient’s phones
The Short Version
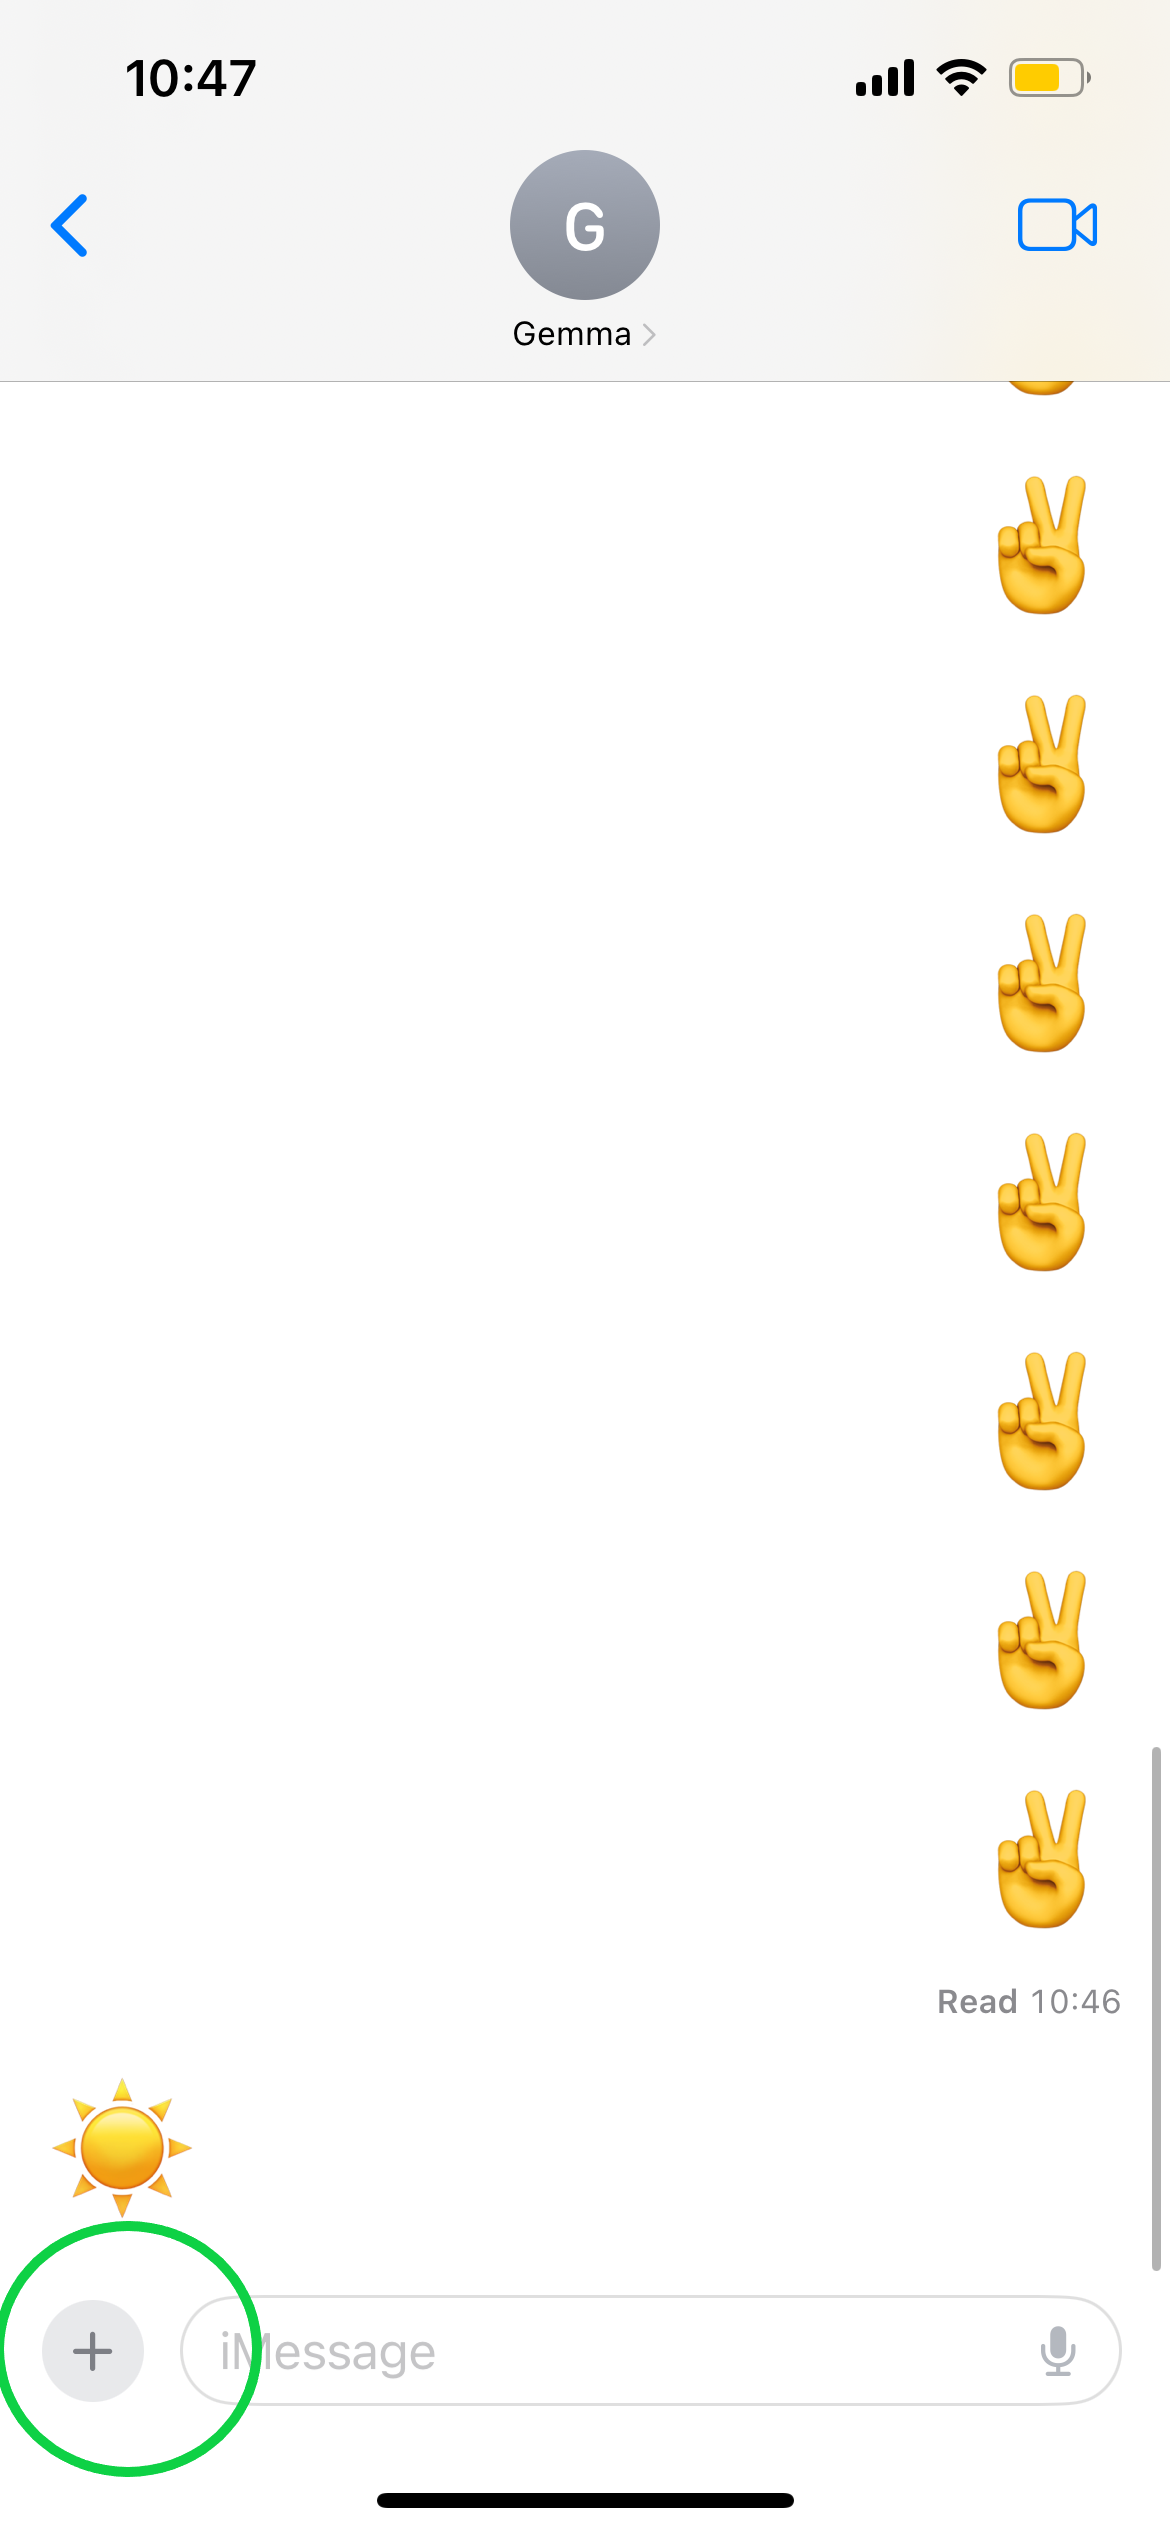
- Tap the Plus icon in any iMessage chat
- Tap More
- Select Check In
- Tap Edit
- Set a time or location
- Hit Send
- Tap Details when you arrive at your location
- Tap Cancel Check In
How to use Check In on iPhone in iOS 17
-
Step
1Tap the Plus icon in any iMessage chat
You can find it in the bottom left corner.
-
Step
2Tap More

Or swipe upwards to show more options.
-
Step
3Select Check In

The icon is yellow with a black tick.
-
Step
4Tap Edit

You might first need to tap through an explanation of Check In if this is your first time using the feature.
-
Step
5Set a time or location

Then tap Done to confirm.
-
Step
6Hit Send

This is the blue arrow icon in the bottom right corner.
-
Step
7Tap Details when you arrive at your location

Or respond to the Check In prompt if iMessage notifies you first.
-
Step
8Tap Cancel Check In

If you haven’t received the Check In prompt yet or you arrive early, click Cancel Check In to let your friend know you’ve arrived at your destination. If you use the location option, Apple should automatically let your friend know when you arrive on time.
Troubleshooting
You can easily cancel any Check In by following steps 7 and 8 above. Simply tap Details and hit Cancel Check In at any time to turn off Check In.
Check In requires both the sender and recipient to be using iPhones updated to run iOS 17. If your device won’t let you send Check In to a specific contact, ask if their phone is also running iOS 17.
Originally posted 2023-09-20 11:23:45.