Photoshop’s Perspective Warp feature is one of the most useful tools to understand in the image editing app.
Not only can it be used to straighten buildings and align objects in a photo, but it can also be used to correct lens distortion caused by your camera. This means you can effectively transform a telephoto shot into a wide-angle one with a little bit of Photoshop magic.
Keep reading to learn how to use the Perspective Warp tool in Photoshop.
What you’ll need:
- Adobe Photoshop
- A Creative Cloud subscription
A Pixel 7 Pro handset for below £700
Save £177 on what we consider the best software experience in the smartphone world today, courtesy of Google’s Amazon store.
- Amazon
- Was £849
- Now £672
View Deal
The Short Version
- Open your image in Photoshop
- Click Edit
- Choose Perspective Warp
- Click and drag to create a square around your object
- Choose Warp
- Drag the corners of the shape where you want them
- Click the tick icon to confirm
How to use Perspective Warp in Photoshop
-
Step
1Open your image in Photoshop

Duplicate the layer if you want to be able to reverse the edits if you change your mind.
-
Step
2Click Edit

This option can be found in the menu bar at the top of the screen.
-
Step
3Choose Perspective Warp
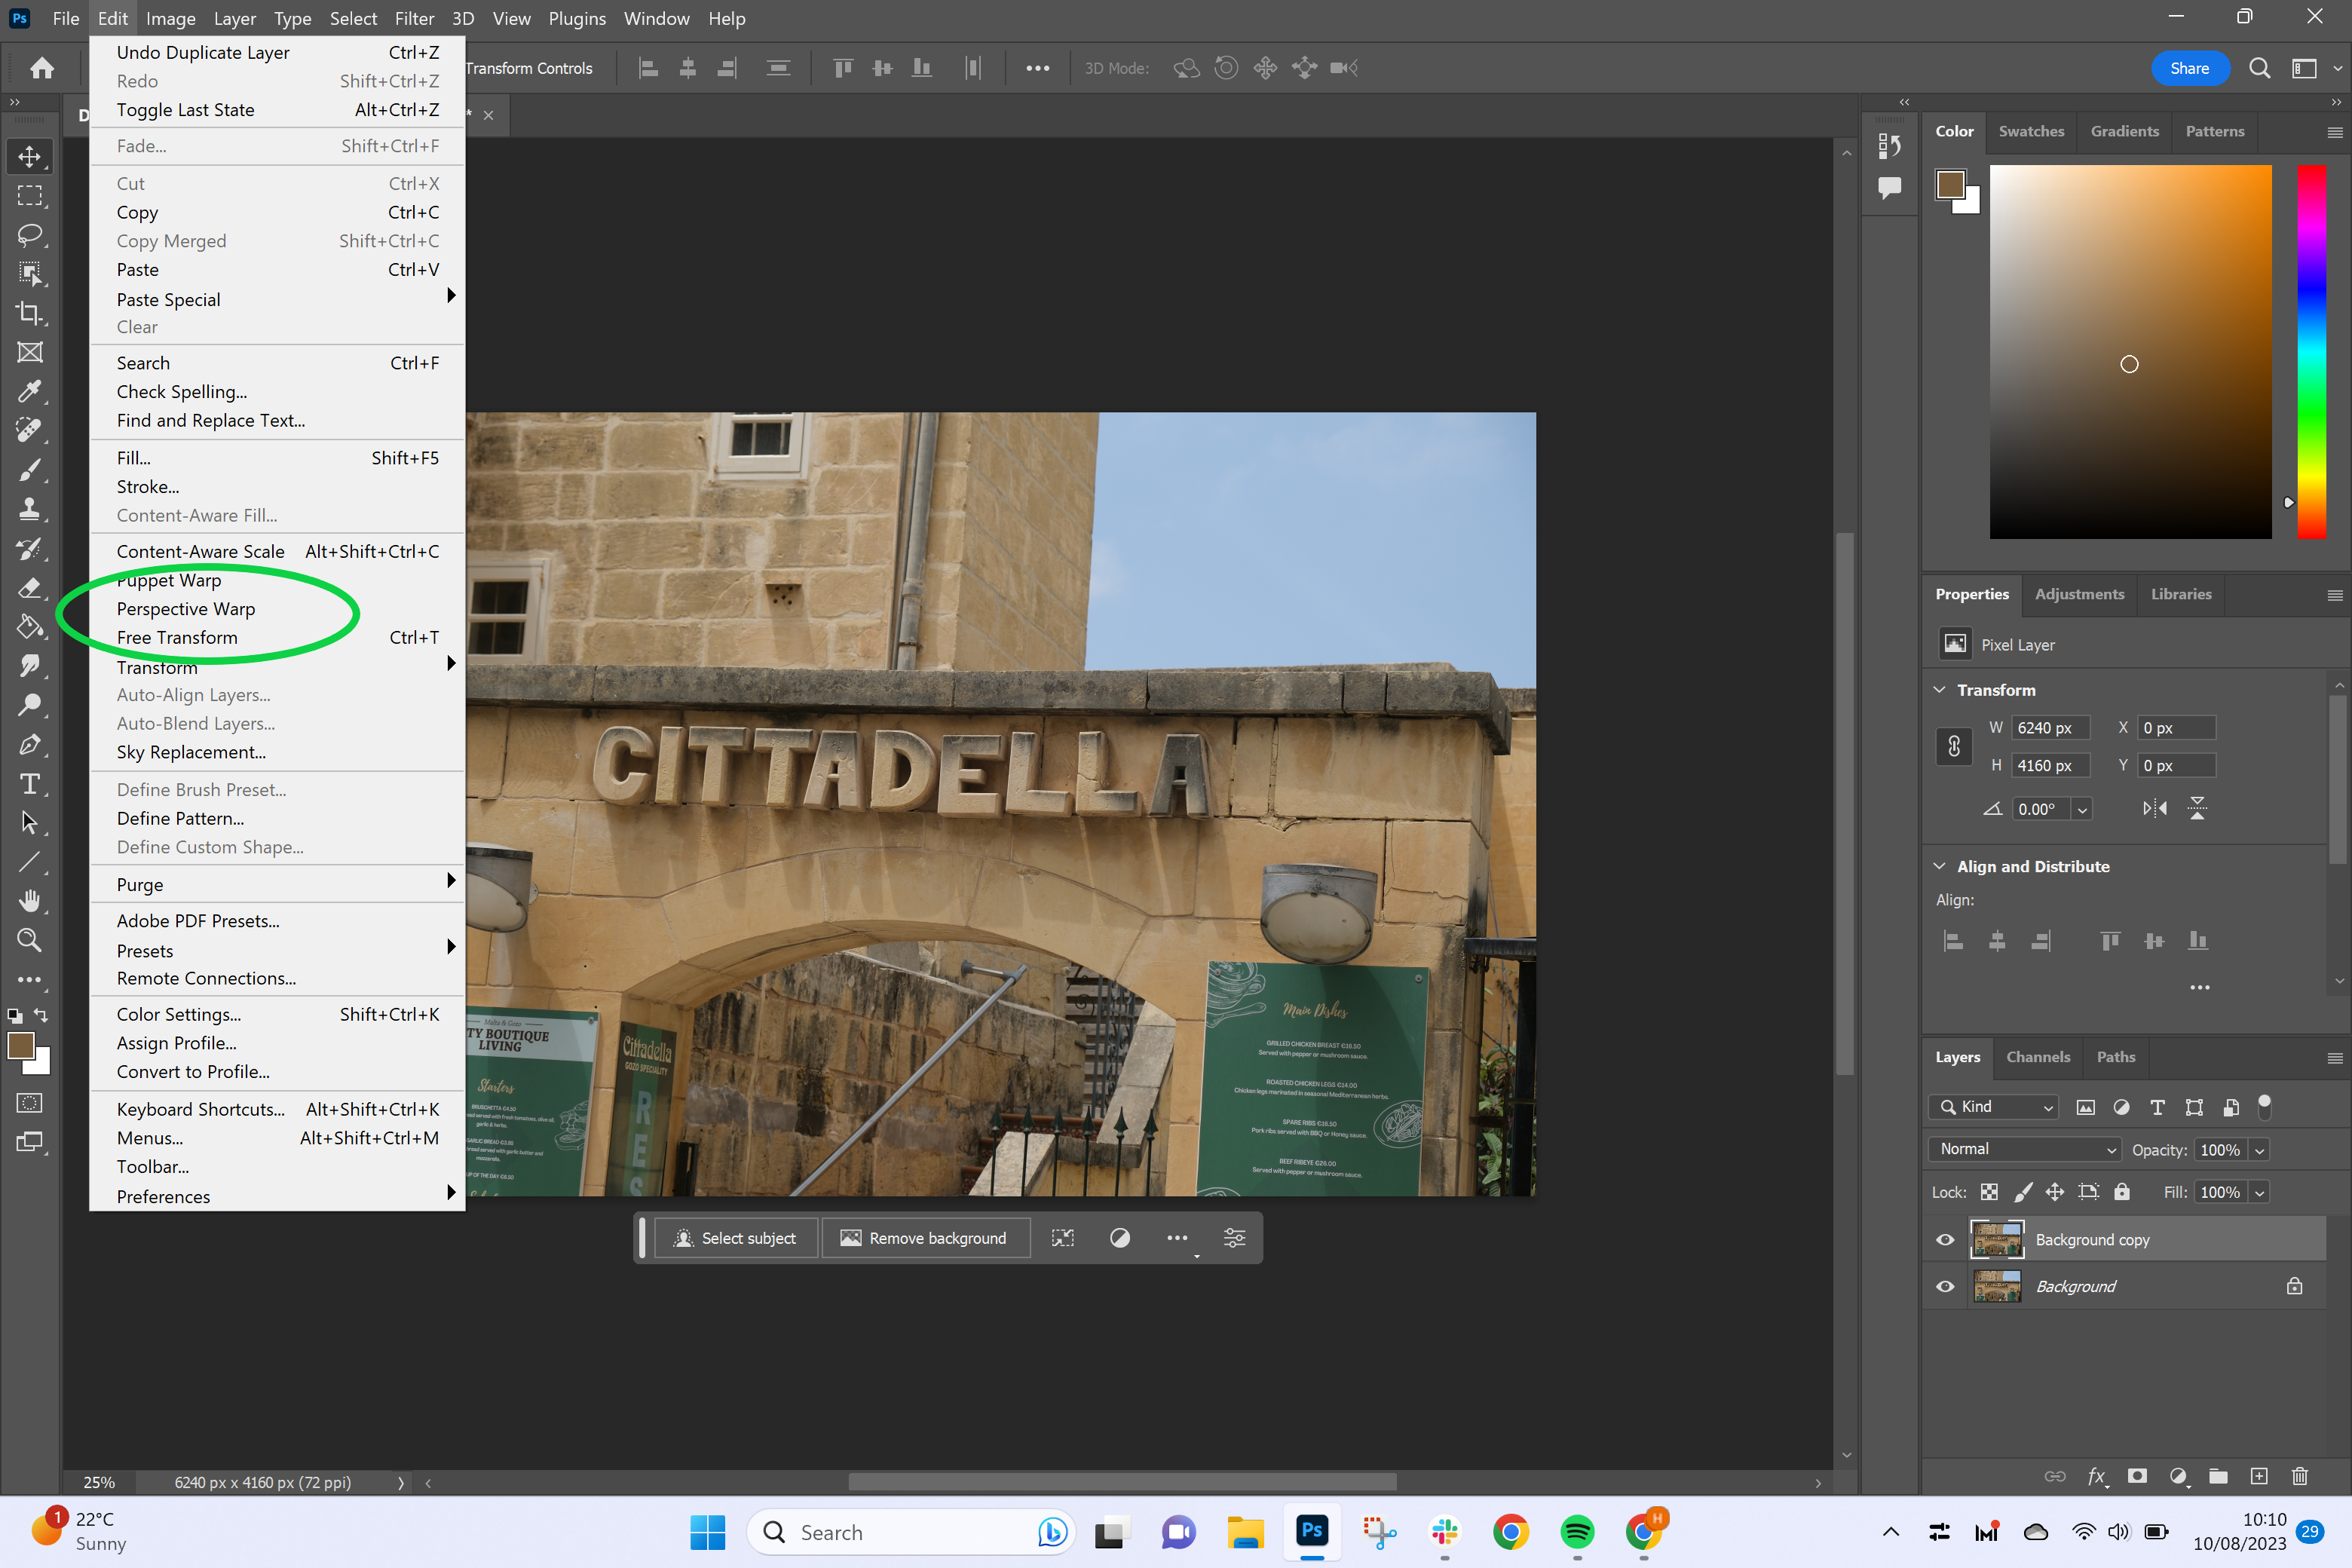
The tool can be found about halfway down the dropdown menu.
-
Step
4Click and drag to create a square around your object
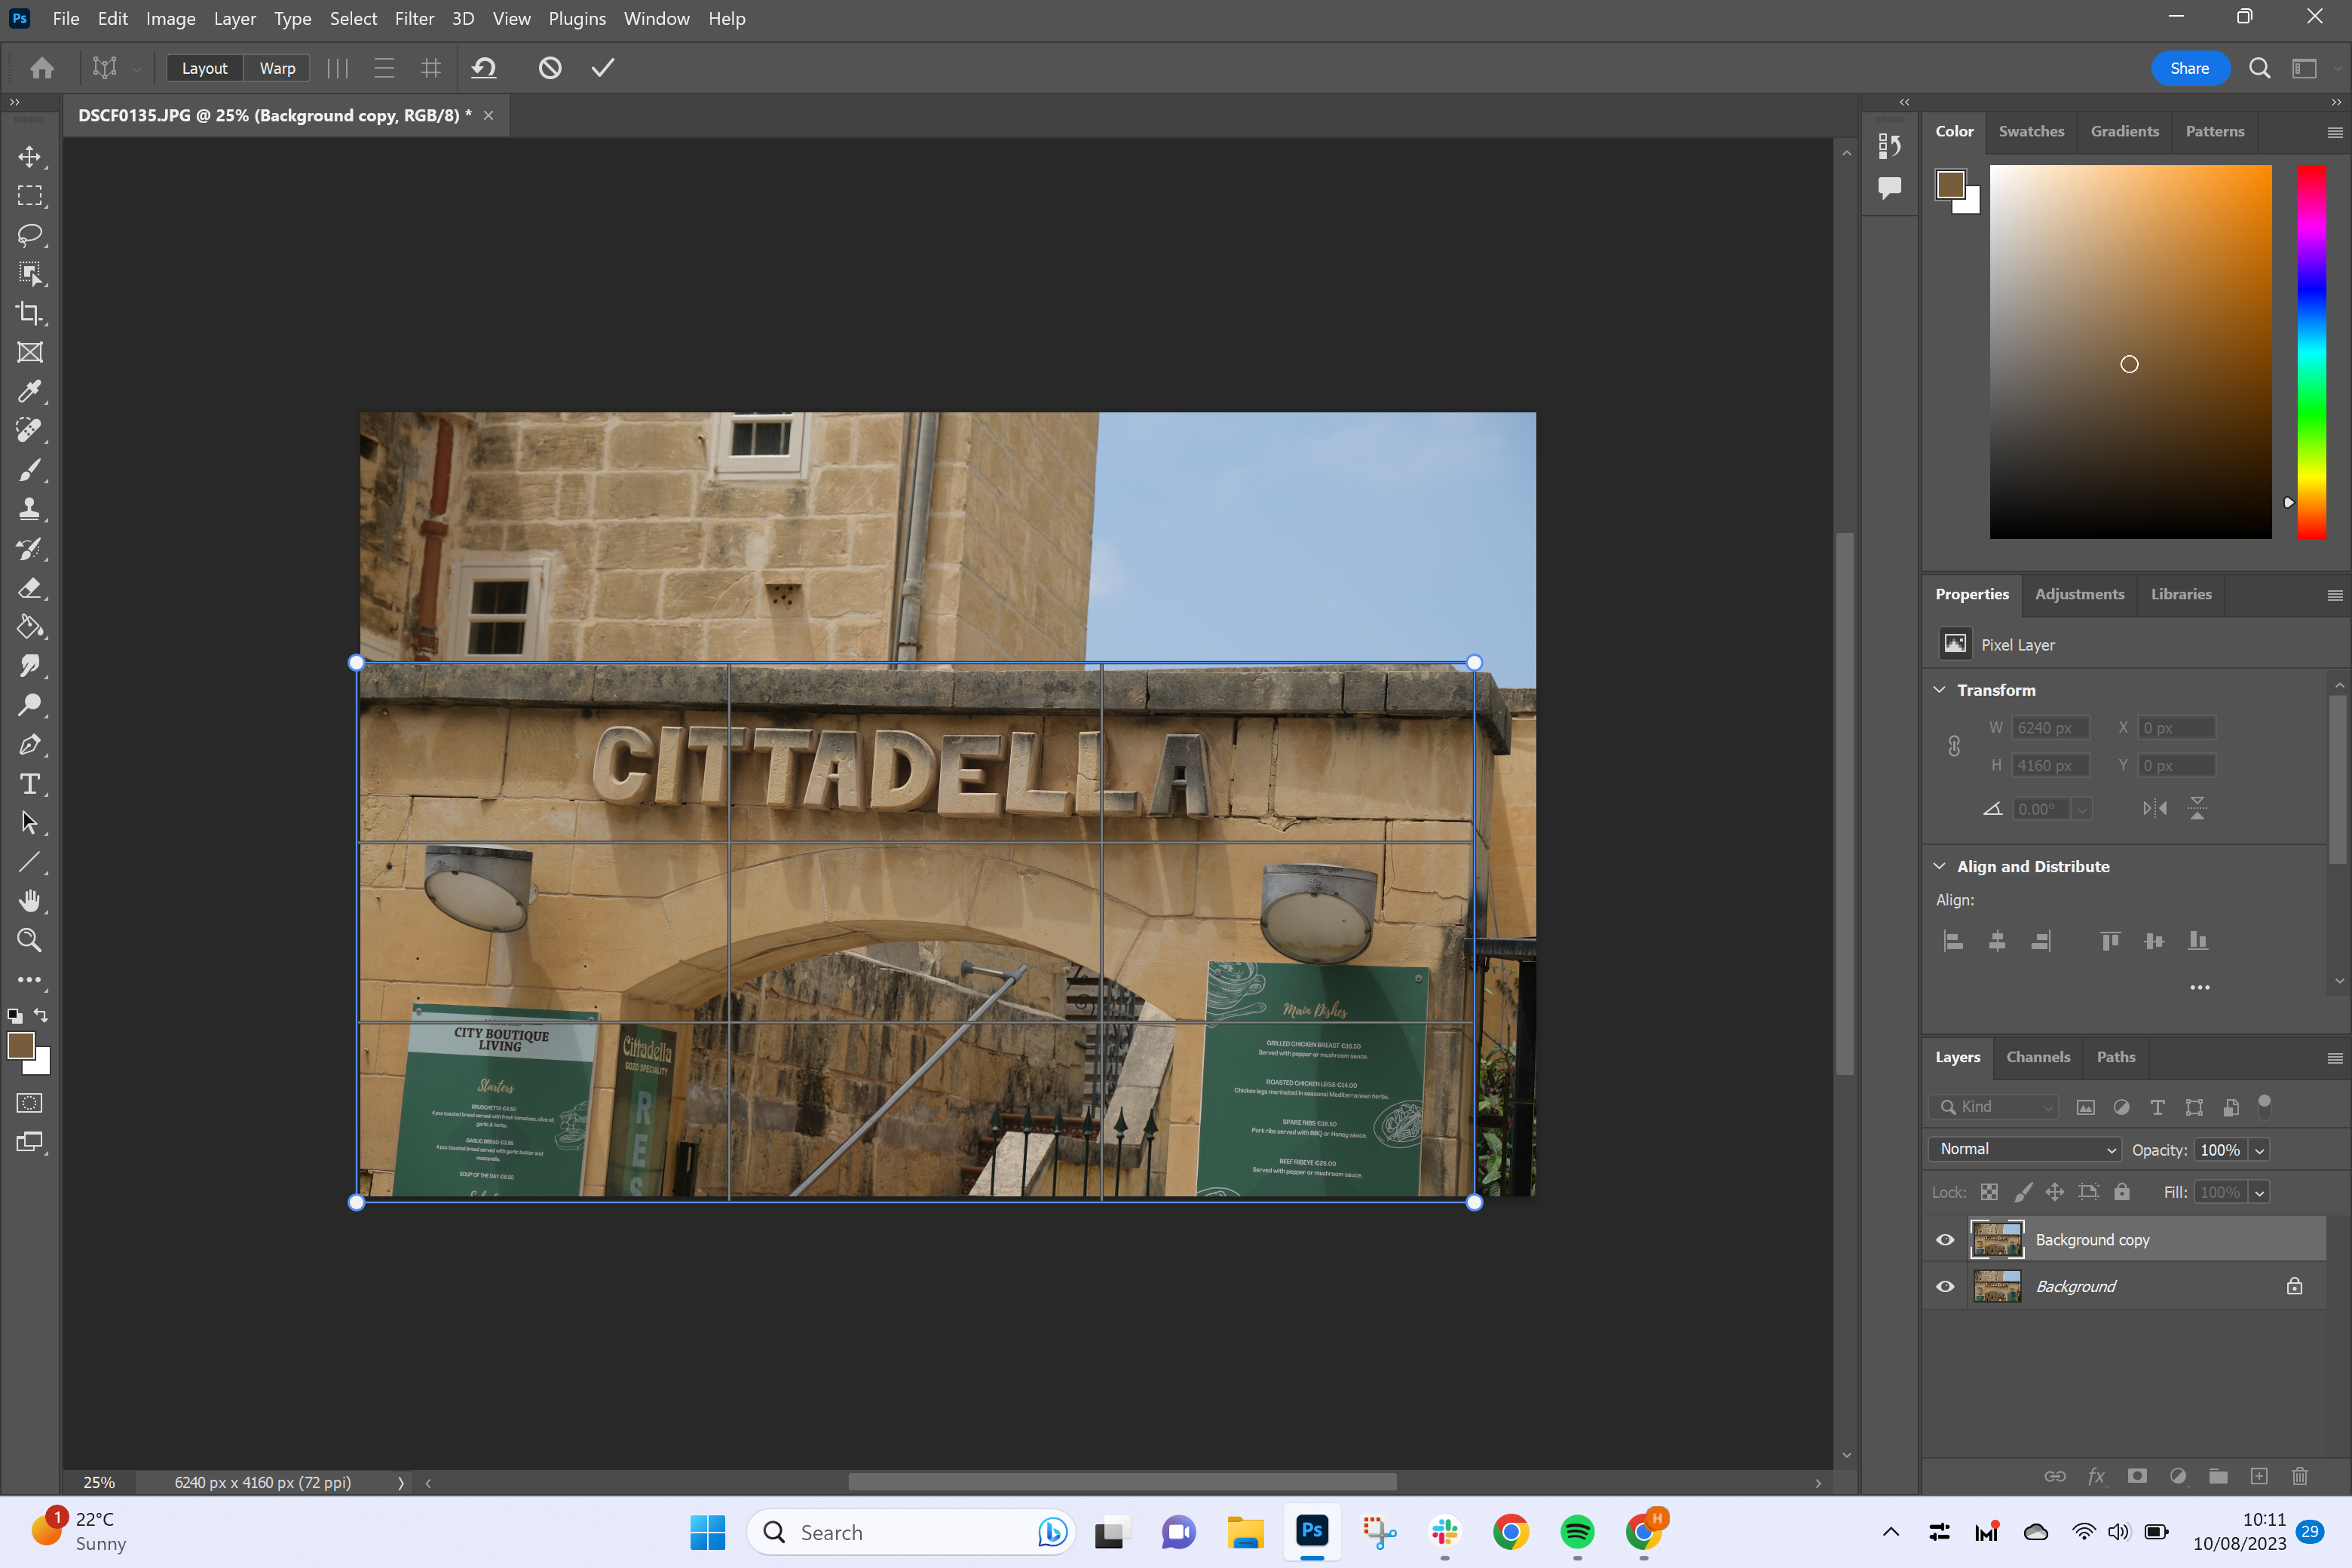
Make sure the Layout tab is selected.
-
Step
5Choose Warp

This will allow you to start moving the object.
-
Step
6Drag the corners of the shape where you want them

Or click the icons next to the Warp button to straighten the edges either horizontally or vertically.
-
Step
7Click the tick icon to confirm

Finally, use the clone tool or the crop tool to tidy up the edges of your image.
Troubleshooting
If you don’t want to warp your entire image, start by selecting the object you do want to warp and masking it. Then, turn that layer mask into a Smart Object by selecting the layer mask and clicking Layer, Smart Object and Create Smart Object.
To undo Perspective Warp, just click Edit and then Undo. The easiest way to reverse any changes is the duplicate your layer as the first step so you always have a backup beneath the warped layer.
Originally posted 2023-08-10 10:45:44.